Modspioneers
In stock
12v / 24v 11000 BTU RV Rooftop Air Conditioner
12v / 24v 11000 BTU RV Rooftop Air Conditioner
- DC powered for ideal off-grid cooling from your battery bank
- Ideal cooling capacity for small-to-medium vehicles (vans, campers, single RV bedrooms)
- Designed for quiet operation, energy efficiency, and a long lifespan.
- Easy Installation: Designed for a simple, fast DIY setup.
Couldn't load pickup availability
Estimated Delivery Times
- California & Nearby Western States (AZ, NV): 2-3 business days
- Most Western & Central U.S. States: 3-4 business days
- Eastern U.S. States: 4-5 business days


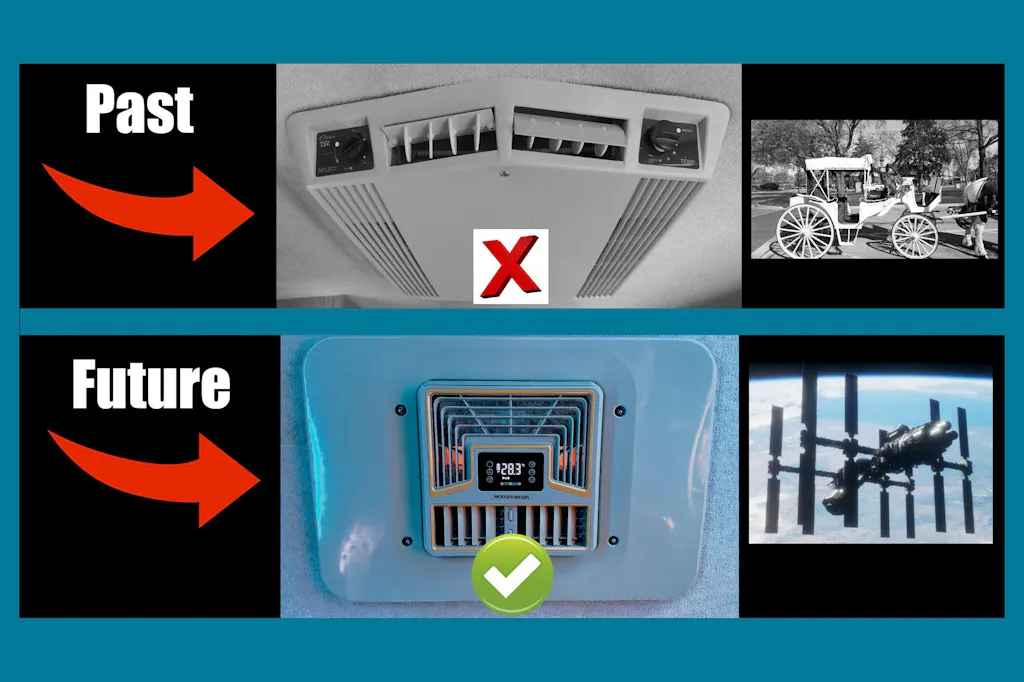
Reliable in the Summer Heat
Summer days can get very hot on an RV roof. This unit is designed to keep working when the sun is blazing.

Heat-Resistant Fans
The condenser fans are made from strong, engineering-grade materials. They can handle temperatures without melting or warping.

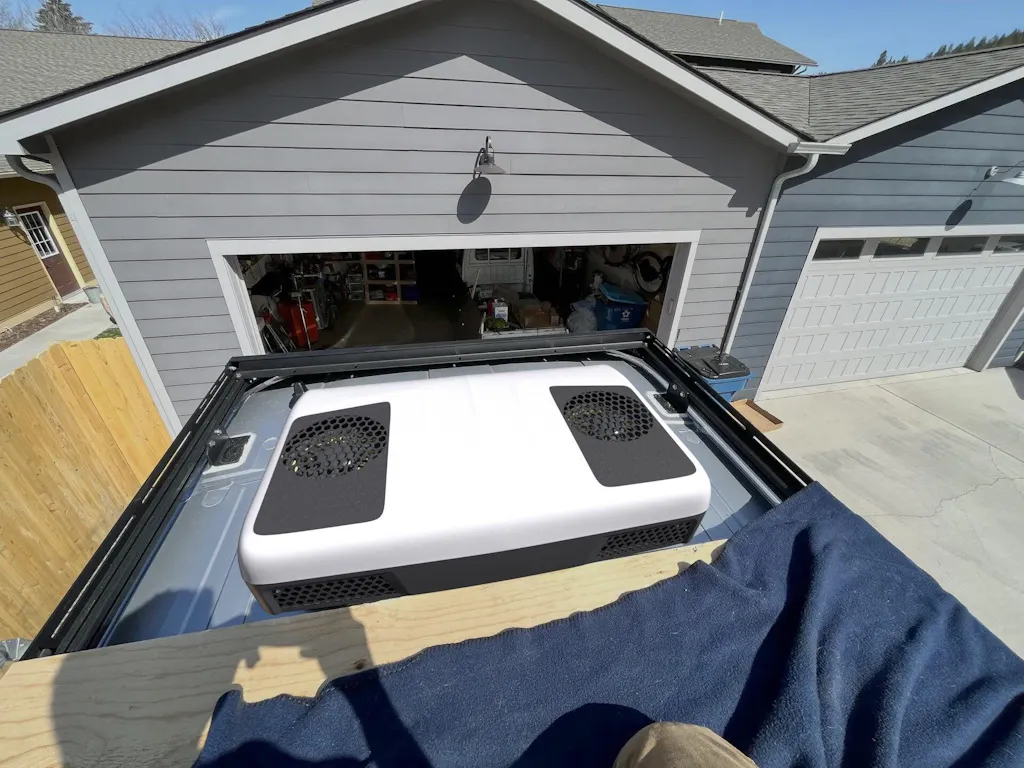
Reflective Cover
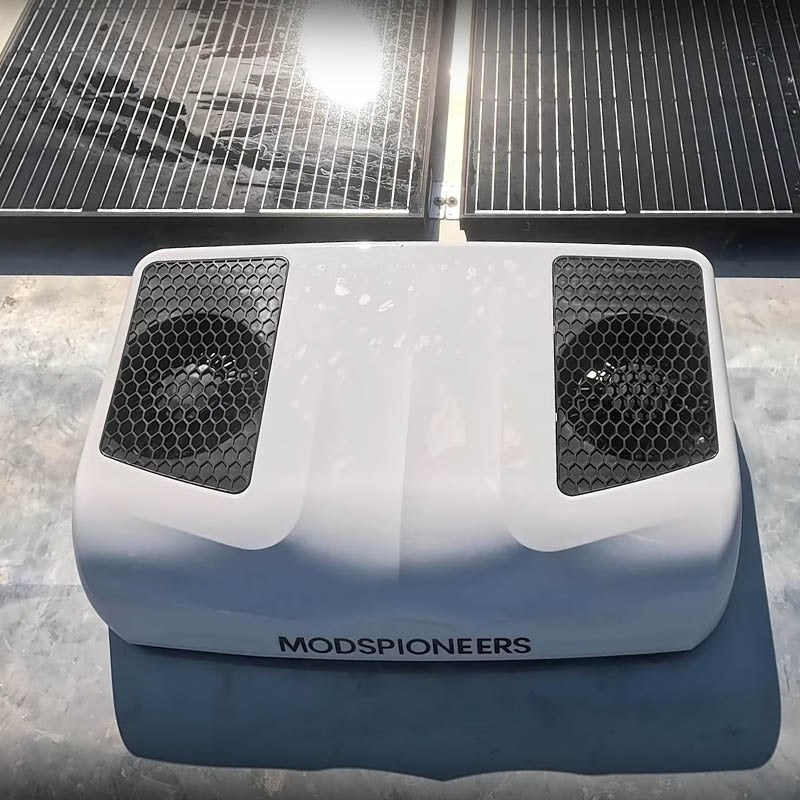
The white shroud reflects 98% of sunlight. This keeps the unit cooler than black or dark-colored units.

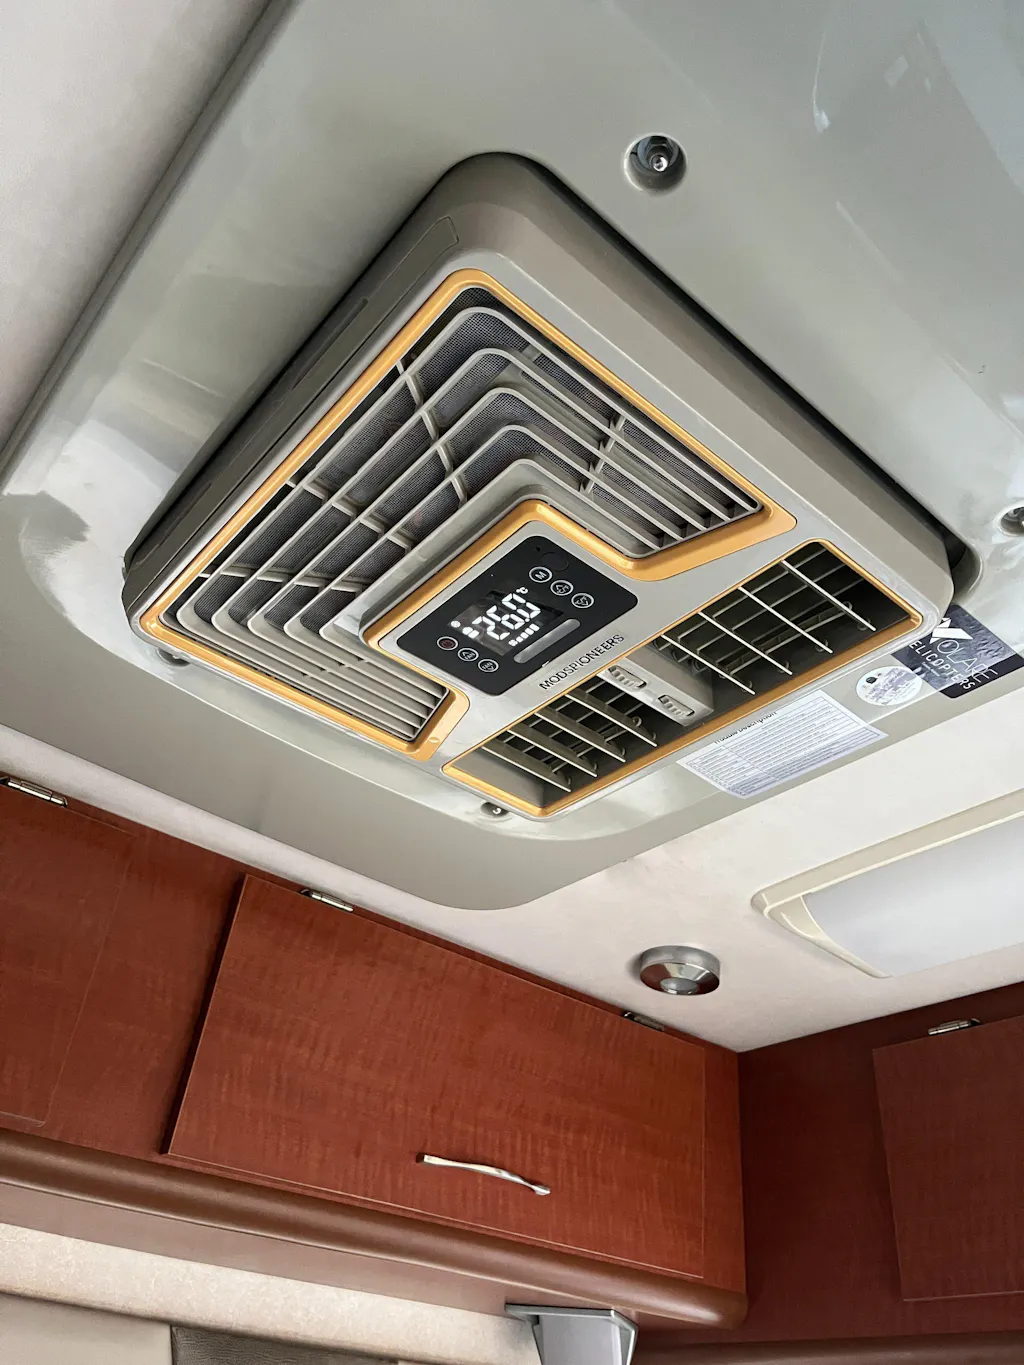
Heat-Safe Controller
The main controller (the brain of the AC) is located inside the cool air distribution box. This keeps it safe from rooftop heat and vibration, preventing common failures.


Saves Your Battery Power
When you're off-grid, every bit of power matters. This unit is designed for maximum efficiency.

Efficient design
Instead of one big fan, this unit uses two smaller fans, which helps get rid of heat faster and uses less energy.

Soft Start
By starting up slowly, this unit protects your battery bank from stress by using roughly the same amount of electricity as six LED bedroom lights.

Zero Waste
When the unit is in "standby" mode, it uses zero power.

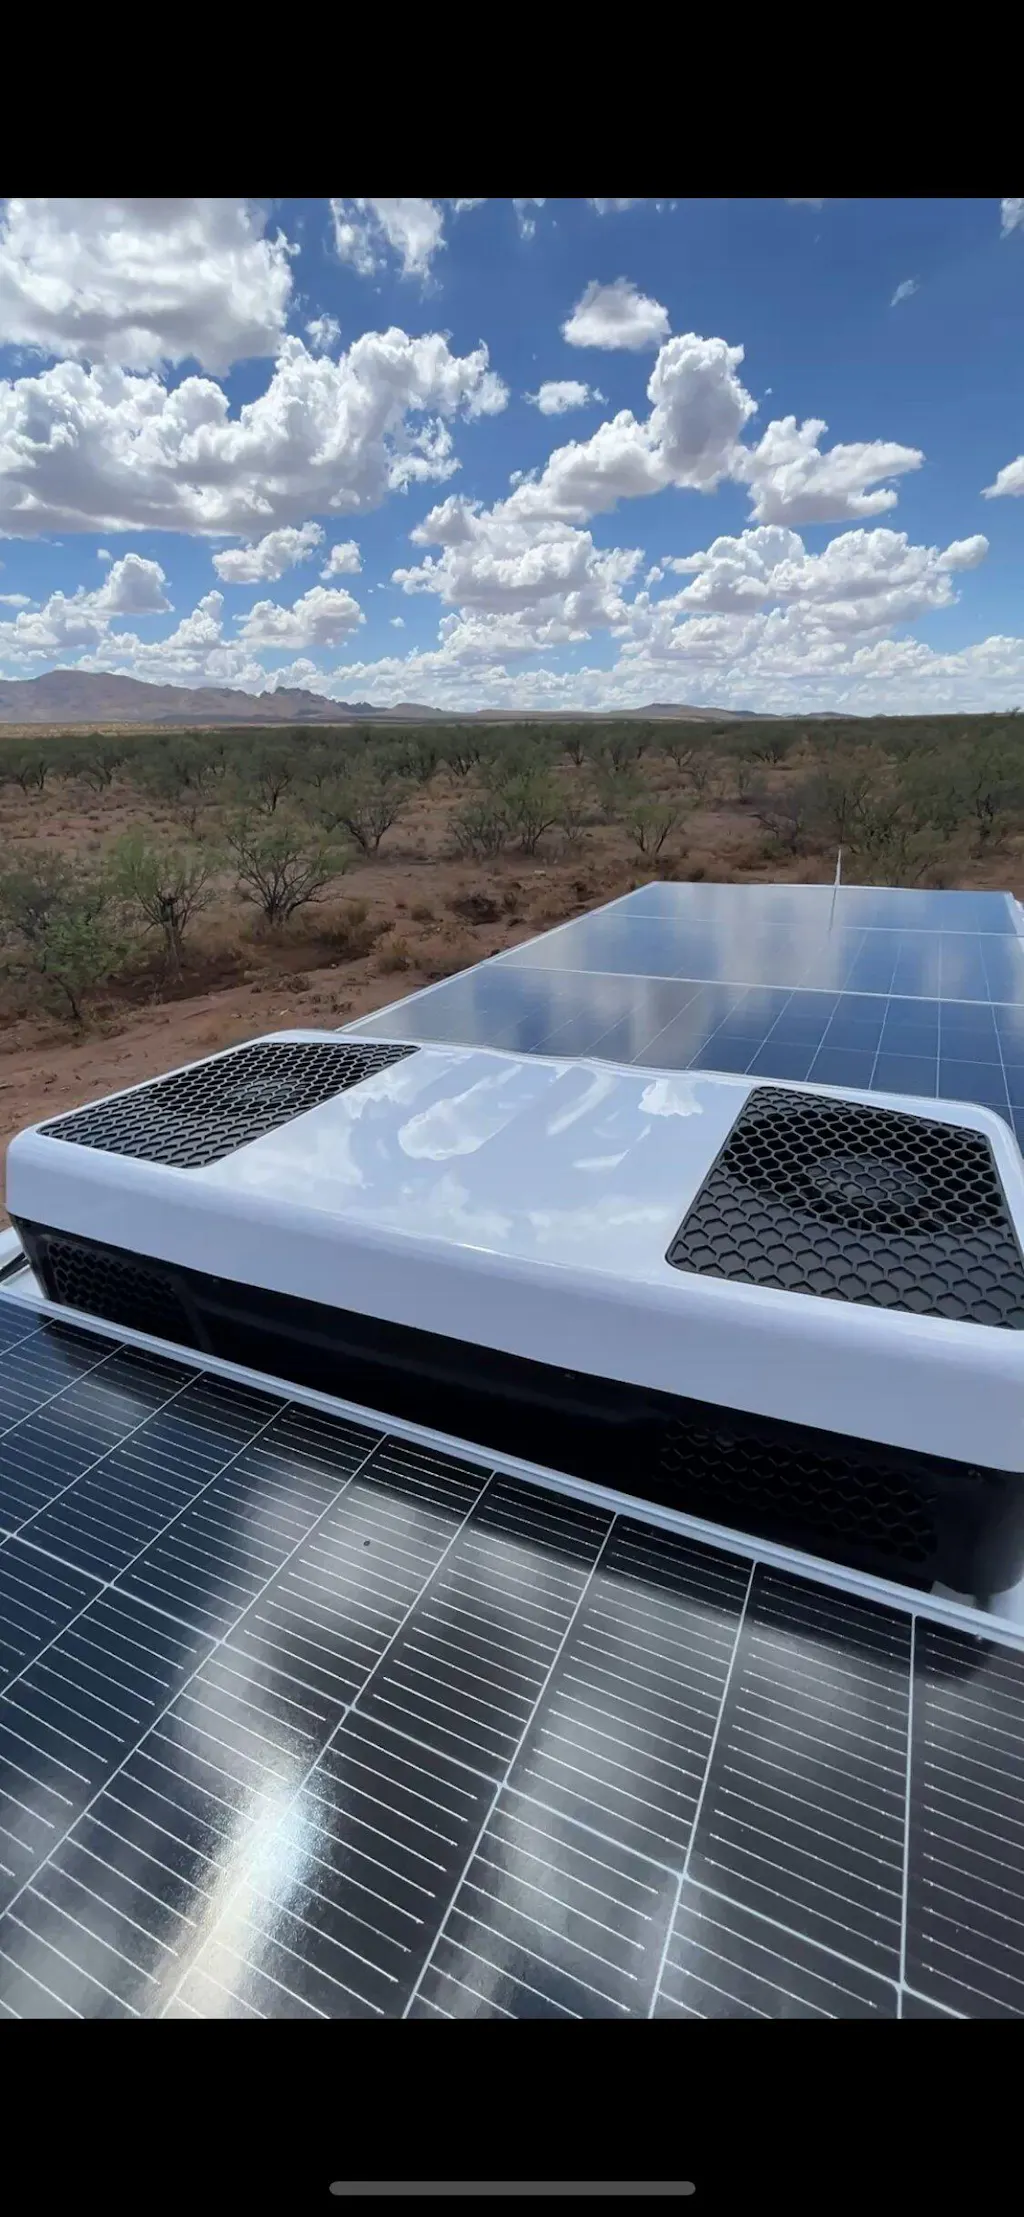
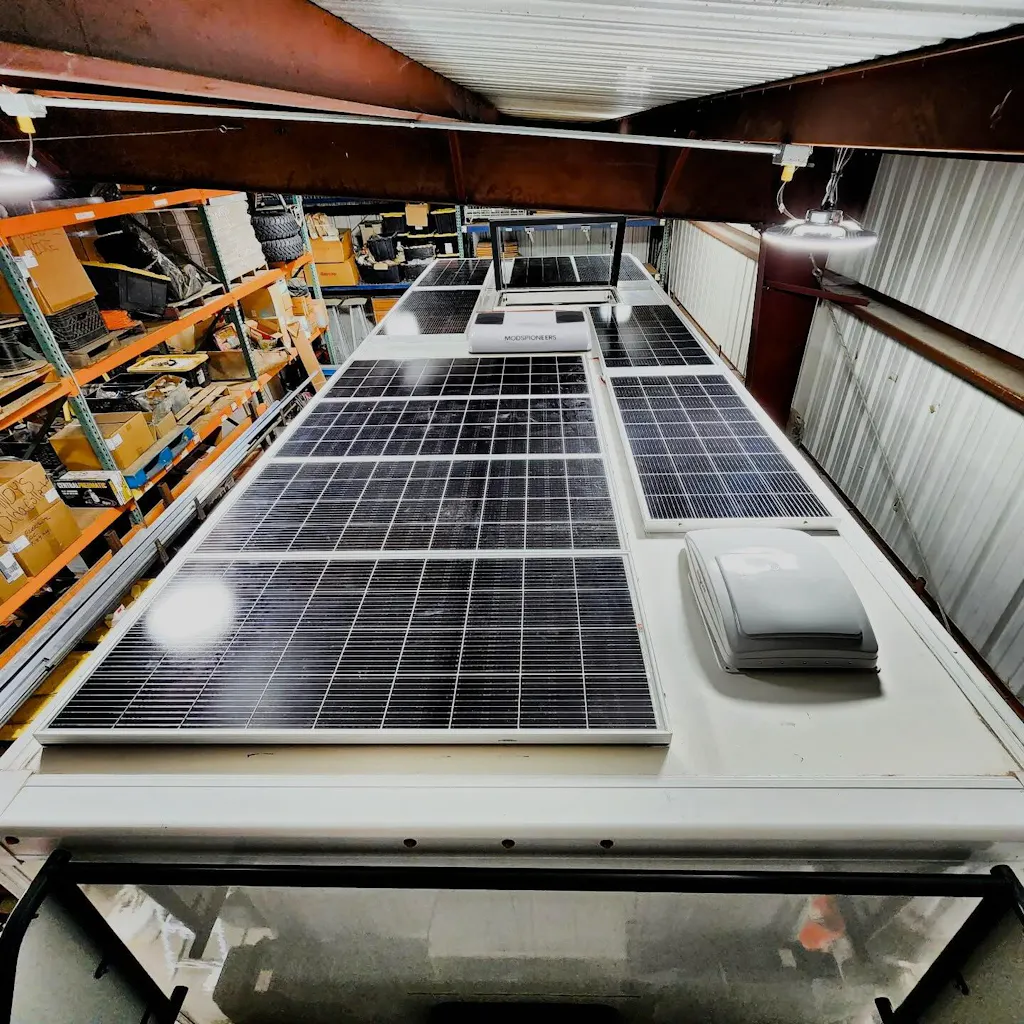
Run on Solar Day and Night
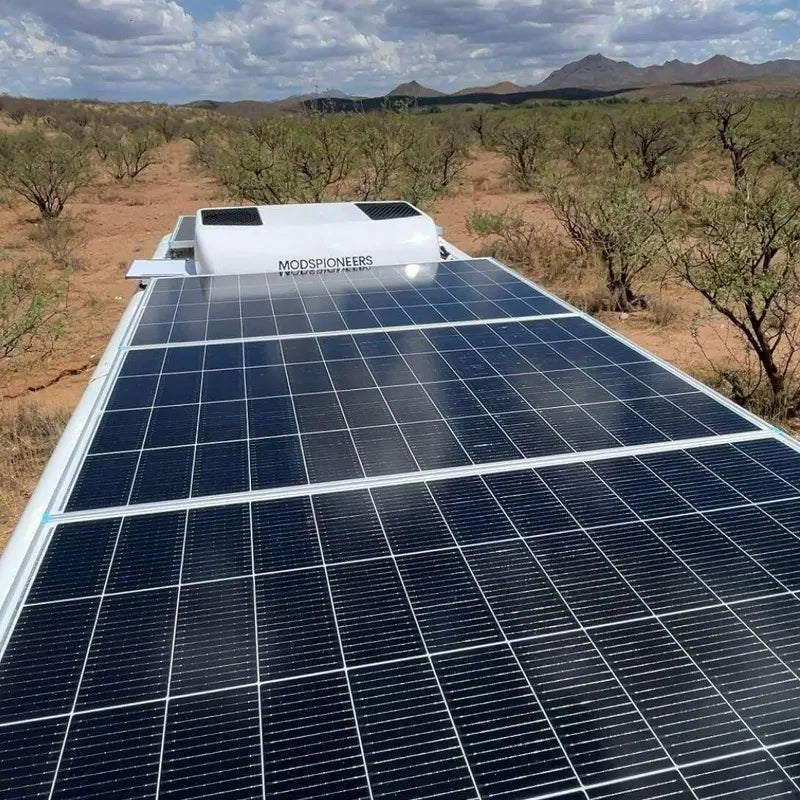
Forget the noisy generator and crowded campgrounds. With the right setup, you can stay cool using nothing but sunshine.

The Setup: Use about 1,200W of solar panels and a battery bank with 3,600 to 4,800 Watt-hours (Wh) of energy storage. (If you are using a 12V system, that is about 300–400Ah).
The Result: On a sunny day, the solar panels run your AC while keeping your batteries fully charged. At night, your batteries take over to keep you comfortable until morning. This gives you 24 hours of cooling without ever needing to plug in!


Enjoy the Peace and Quiet
You go into nature to relax, not to listen to a loud motor.

Quiet Compressor
The "twin rotary" compressor runs smoother and vibrates less than older styles.

Smooth Fans
This unit uses two smaller fans with 7 blades each. They spin smoothly and cut through the air quietly.

Easy Install & Safety

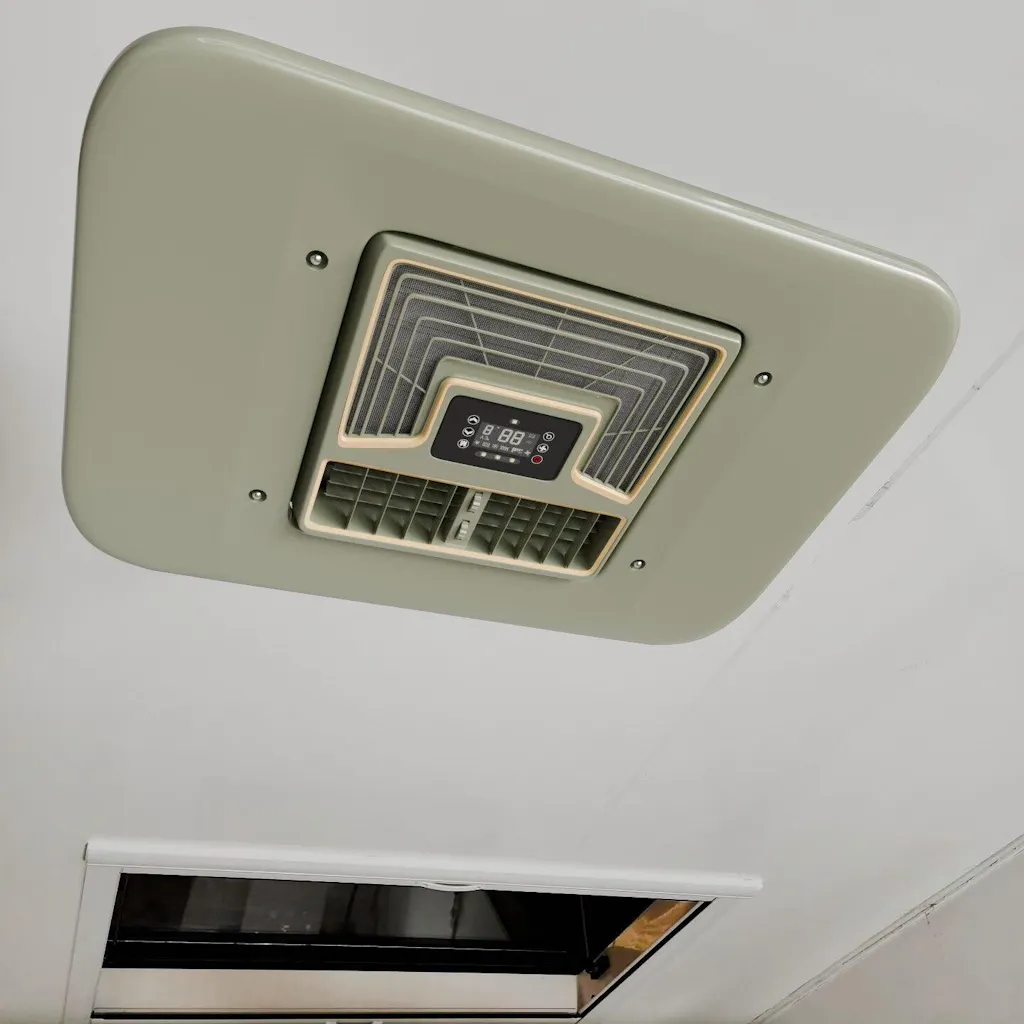
Standard Fit
This unit fits into a standard 14.25” x 14.25” roof vent. The inside air box comes pre-assembled to make installation easier.
Need a Hand? Doug's Got You Covered in This Installation Video
This guide provides a step-by-step process for installing your new ModsPioneers DualCool 12V RV air conditioner. Please read all instructions carefully before you begin.
SAFETY FIRST: IMPORTANT PRE-INSTALLATION CHECKS
- Lifting the Unit: The AC unit weighs approximately 70 lbs (32 kg). You will need at least one other person to safely lift the unit onto your RV rooftop. Do not attempt to lift it alone to prevent injury or damage.
- Eye Protection: Always wear protective glasses when cutting or drilling to protect your eyes from debris.
- Disconnect All Power: For your safety, turn off and disconnect all power sources to your RV. This includes the battery, generator, and any shore power connection.
Part 1: Preparing for Installation
1. Tools & Materials You Will Need:
- Drill with 6.5mm-6.6mm and 9mm-10mm drill bits
- Measuring tape
- Marker or pencil
- Jigsaw or keyhole saw (for cutting the opening)
- Protective glasses
- Appropriate sealant (RV-grade, weatherproof)
- Corrugated cardboard (for creating a template)
- A second person to assist with lifting
2. Choose the Ideal Location:
- Level Surface: Park your RV on a flat, level surface before you begin. The AC unit must be installed on a flat, horizontal section of the roof with a slope of less than 5 degrees.
- Existing Vent: If you have a standard 14¼" x 14¼" roof opening (e.g., from an old vent), you can use this location.
- New Location: If creating a new opening, choose a spot on the roof that is free from obstructions.
- External Obstructions: Check the outside of the roof. The unit requires unobstructed airflow on two sides and the rear. Ensure there are no vents, skylights, or other features that would block the vents on the AC unit.
- Internal Obstructions: Check the inside of the RV. The interior decorative plate must have a clear path to be mounted. Use a measuring tape to confirm the interior space is clear of cabinets, lights, or other fixtures. Refer to the unit's specifications for the exact dimensions of the interior decorative plate.
- Structural Beams: The opening must be located between the roof's reinforcing cross-beams. Use a stud finder or refer to your RV's structural diagrams to locate these beams.
-
Ribbed surface: If your RV's roof has a ribbed surface, fill the gutters with butyl tape slightly higher than the ridges. This ensures a watertight seal when the gasket is compressed by tightening the bolts.

-
Roof thickness: If your roof is thicker than 2.5 inches, you'll need to purchase longer bolts.
If your roof thickness is over 4 inches, you will get a recessed look of the inner air distribution box.
- Recommended Battery Type: Lithium battery for maximum usable power. Lithium safely delivers nearly full capacity (down to 20%). AGM/Lead-Acid must be kept above 50% to avoid damage.
- On grid: For on-grid operation, we recommend a 120V to 12V converter with an output of at least 80A.
Part 2: Creating the Template & Opening
1. Create a Template:
(This step ensures precise hole placement before you cut into your roof.)
- Find a piece of corrugated cardboard larger than the interior decorative plate.
- Place the interior decorative plate on the center of the cardboard and trace the main opening. Also, mark the four bolt holes.

- Carefully cut out the traced opening and the four bolt holes from the cardboard.

- Place the template against the bottom of the exterior AC unit.
- Insert the four M6 bolts (used for the decorative plate) through the template and into the AC unit to secure the template.
- Use the four M8 studs to poke the four mounting holes for the mounting bracket into the template.

- Mark the front of the AC unit on the cardboard template to indicate the direction of the unit.

2. Cut the Roof Opening:
- If you are using an existing 14¼" x 14¼" roof vent opening: You only need to drill the eight mounting holes.
-
If you are creating a new opening:
- Take your template and place it on the roof where you have chosen the location.
- Use a marker to trace the large opening and all eight mounting holes.
- Using a jigsaw or keyhole saw, carefully cut along the marked outline of the main opening.
- Drill the eight mounting holes:
- Four holes (6.5mm - 6.6mm) for the decorative plate.
- Four holes (9mm - 10mm) for the mounting bracket.

- Before drilling a hole in your vehicle’s roof for the power cable, plan the cable route to your battery bank. Use a cable entry gland to ensure the opening is completely waterproof.
Part 3: Installing the AC Unit
1. Prepare the Gasket:
- Insert the provided rubber spacers into the holes of the gasket. These spacers prevent over-compression when the unit is tightened.

- Clean the roof surface thoroughly where the gasket will be placed.
- You have two options for gasket application:
-
Option A: Apply the gasket directly to the bottom of the exterior AC unit. Ensure the four small condensation drain holes on the unit are not blocked by the gasket.

-
Option B: Cut the gasket and stick it around the perimeter of the mounting holes on the roof.

-
Option A: Apply the gasket directly to the bottom of the exterior AC unit. Ensure the four small condensation drain holes on the unit are not blocked by the gasket.
2. Apply Sealant:
- If you used Option A (gasket on the AC unit): Apply a thin, continuous bead of RV-grade sealant to the bottom of the gasket, all the way around. After the AC unit is mounted, apply another bead of sealant around the outside edges of the gasket where it meets the RV roof. This creates a double-layer waterproof seal.
-
If you used Option B (gasket on the roof): Apply a thin, continuous bead of RV-grade sealant around the inside and outside edges of the gasket. This ensures a complete watertight seal before you place the unit on top.

3. Lift and Place the Unit:
- With the help of another person, carefully lift the AC unit and position it over the opening on the roof.
- Lower the unit gently, guiding it so the mounting studs and main opening align perfectly with the holes you cut.
4. Secure the Unit from Inside:
- From inside the RV, place the metal mounting bracket over the studs that have come through the ceiling.
- Secure the unit by tightening the nuts onto the studs. Tighten them evenly and firmly, but do not overtighten.

5. Connect Power and Secure the Interior Plate:
- Run the power cable from the AC unit to your battery bank. Ensure the connections are secure and polarity is correct (+ to + and - to -).
- Attach the interior decorative plate to the unit using the four M6 bolts.

6. Final Check:
- Reconnect the power to your RV and test the AC unit to ensure it is functioning correctly.
- Double-check that all connections are secure and there are no gaps in the sealant.
Congratulations! Your new ModsPioneers DualCool AC unit is now installed.

Safety Features
Built-in safety features protect your system from voltage spikes or drops.
2-Year Warranty
Comes with a solid 2-Year Warranty.

 AC unit:12V BlackVehicle:28 ft. Hauler TrailerRoof thickness: 3.5"Batteries:4 x 6V 210Ah Deep-CycleBatteries Output:12V / 420 AhSolar Panels:4 x 310W
 AC unit:12V BlackVehicle:40 ft. RVRoom Size:8x10 ftRoof thickness:5.5"Power Source:120V to 12V 1000W Converter
 AC unit:24V GreenVehicle:Fire recuse truckBatteries:2 x Lithium 12.8V 560AhBatteries Output: 25.6V / 560Ah
 AC unit:24v GreenMax Current Draw: ~40A
 AC unit:12V GreenVehicle: Truck camperRoof Thickness: 3.5"Battery: Lithium - 12V 800AhSolar Array: 400W
 AC unit:12V GreenVehicle:Teardrop trailer


Customer RV AC Installations
1. Prioritize a Twin Rotary Compressor
For off-grid living, efficiency is everything.
- Why it matters: Twin rotary compressors are the best choice for variable-speed cooling. They can slow down to a crawl to save energy without losing their cooling power.
- The Benefit: You get a steady, cool temperature while using significantly less battery power than older "on-or-off" styles.
2. Check the Controller Location
Heat and vibration are the biggest enemies of electronics.
- What to look for: Choose a unit where the electronic controller is tucked inside the cool air box.
- The Benefit: Keeping the "brain" of the AC in a cool, dry place prevents common failures caused by the extreme heat and shaking on top of an RV roof.
3. Look for a Pre-Installed Enclosed Air Box
Installation and air sealing can be tricky.
- What to look for: A unit that comes with the air box already enclosed and ready to go.
- The Benefit: This stops returning cool air from leaking back into the vent. It also makes the installation much faster and easier for you.
4. Insist on "Soft Start" and Brushless Motors
Power spikes can trip your breakers or stress your battery bank.
- Why it matters: Units with lightweight fans and brushless DC motors start up gently.
- The Benefit: You won't have to worry about a massive "surge" of power every time the AC kicks on, which protects your entire electrical system.
5. Don’t Pay for Redundant Heating
- The Reality: Electric resistance heaters in 12V units are usually not strong enough to heat a cabin safely or effectively.
- The Tip: Focus on a unit that does one thing perfectly—cooling. Use a dedicated diesel or propane heater for warmth instead.
6. Consider Weight Distribution
Your RV’s roof has to carry the weight while you drive over bumps and around turns.
- What to check: See where the heavy compressor is located. Center-mounted compressors are better than those placed in a back corner.
- The Benefit: Even weight distribution prevents uneven stress on your roof and keeps your vehicle more stable on the road.
-
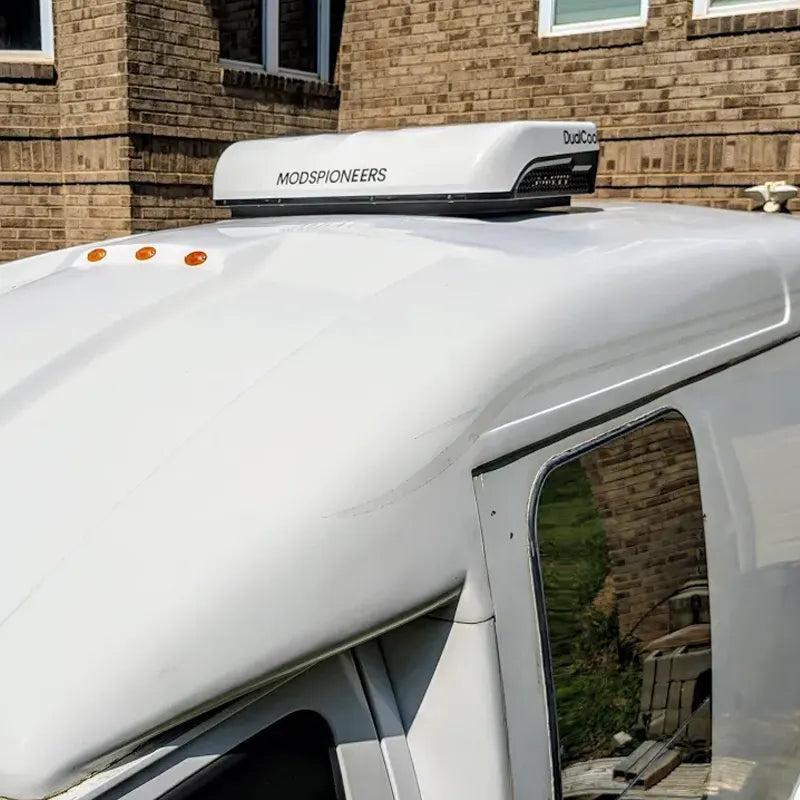
On a Camper
-
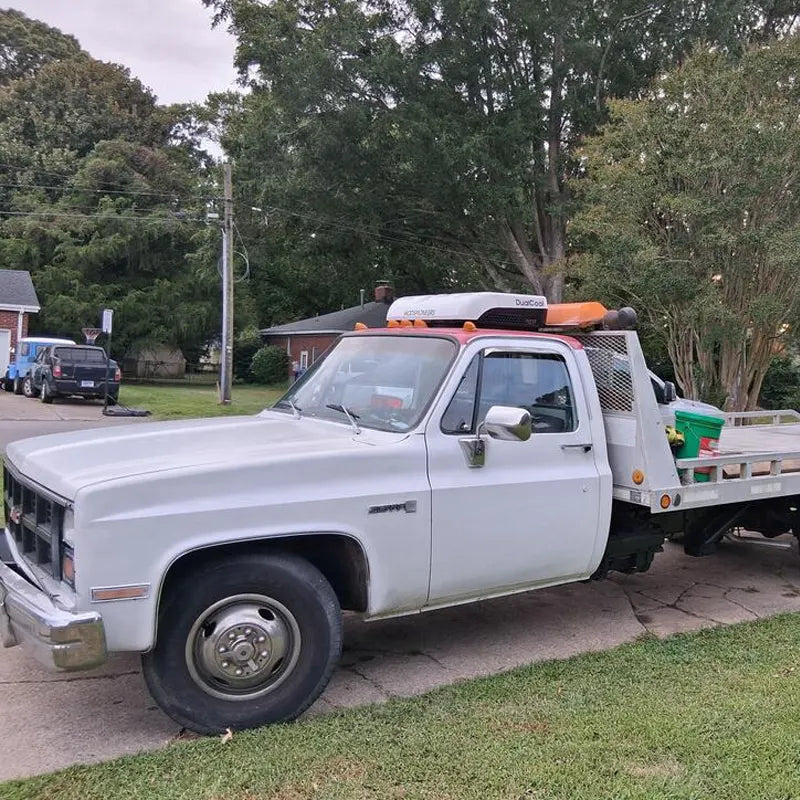
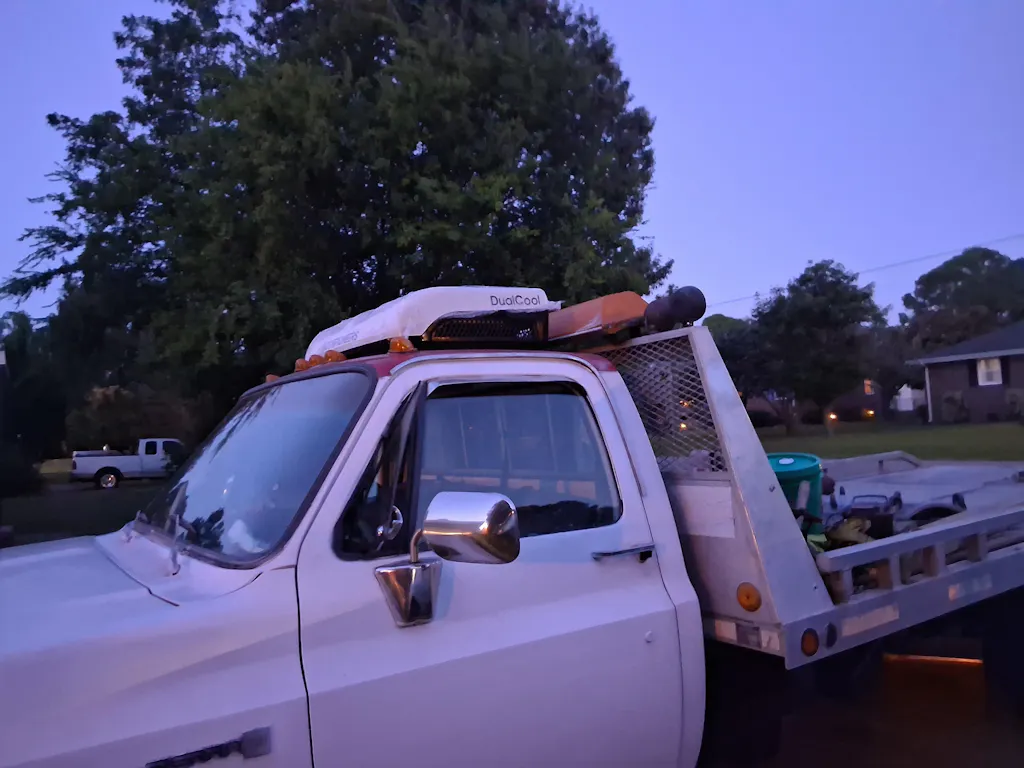
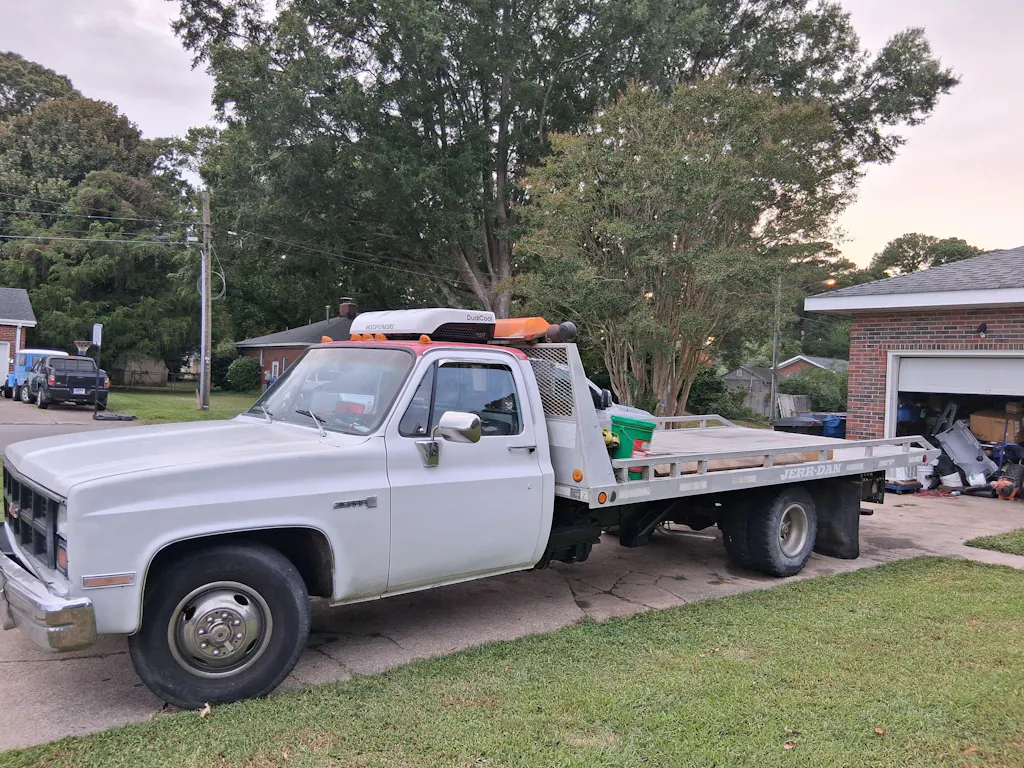
On a Truck
-
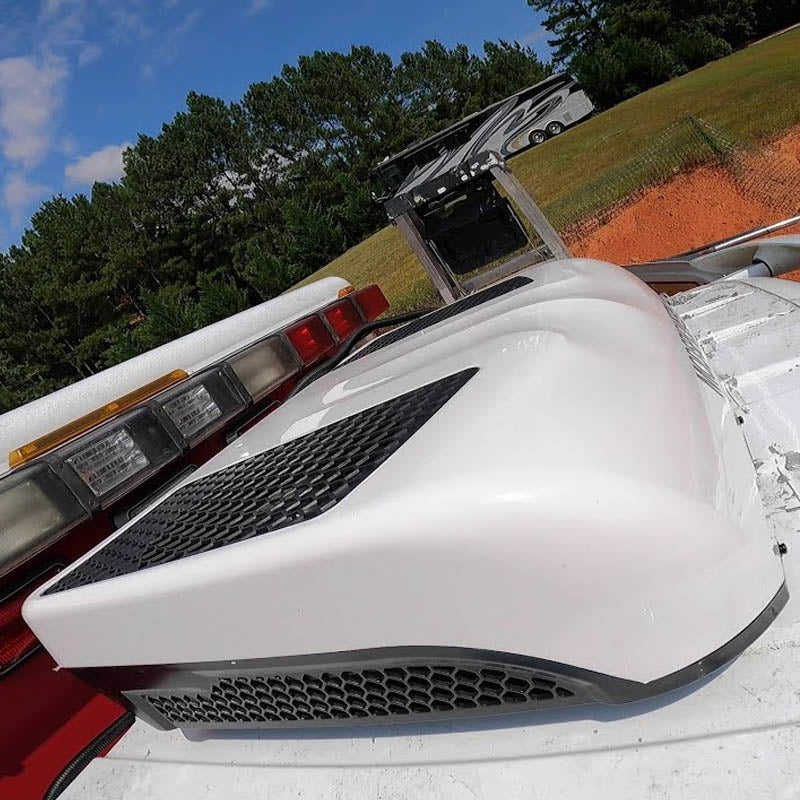
On a Fire Rescue Truck
-
On a Trailer
-
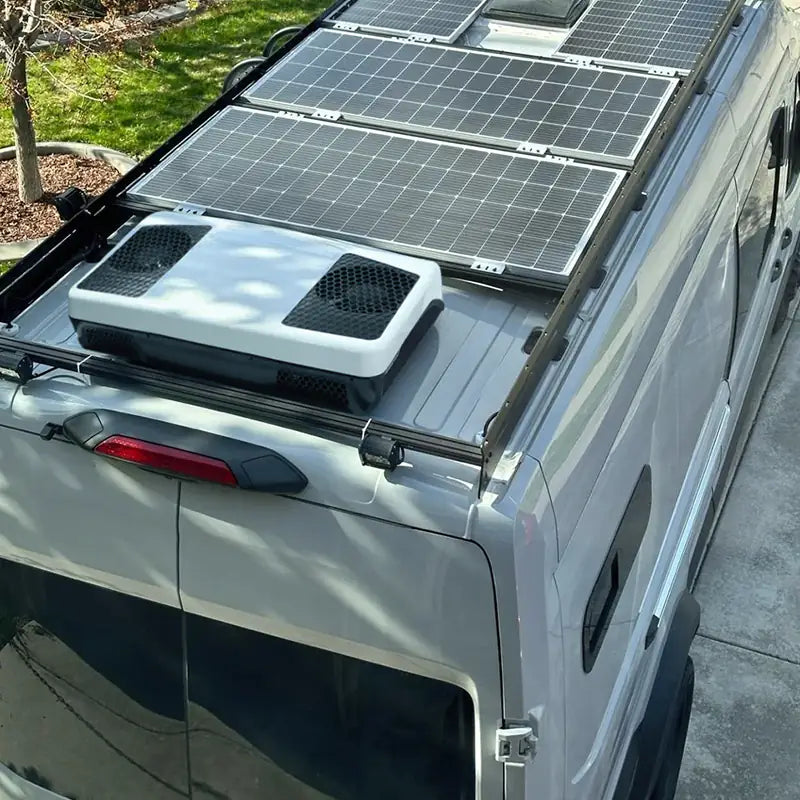
On a Van
-
On a Shuttle Bus


Specifications


electrical
Voltage
DC 12 / 24
Amperage
20-66
Total cable length
13.1ft
Internal cable length
2.85ft
External cable length
10.27ft
BTU cooling rating
5000 - 11000
BTU heating rating
No heat
Refrigerant(prefilled)
R-410A 630g
Weight
70lbs
performance
Modes
Max/Auto/Eco/Fan
Air direction
4-way
Number of fan speeds
3 Speeds
Heater included
without heater
Decibel (sound) rating
52dBA
Control type
remote control
accessories
Mounting brackets
2
Mounting hardware
1 pack
Foam gasket
1
Remote control
1
User manual
1
ACTUALlY FREQUENTLY ASKED
Frequently Asked Questions
What are the recommended wire gauge and fuse size for the AC unit?
The 12V model comes with a pre-connected 6AWG power cable and a 100A in-line fuse, its total length is 13.1 feet, with 2.85 feet inside the AC unit and the remaining 10.27 feet extending from the bottom of the unit. For the 24V model, the wire gauge is 8AWG. You can connect it directly to your battery bank or to a bus bar rated for 60-70 amps. In most cases, you won't need to purchase a power cable separately.
What's the recommended battery capacity?
A single 12.8V 100Ah lithium battery can run the 12V AC model for about 2 to 3 hours. However, for regular off-grid use, we recommend a 300Ah lithium battery bank to ensure you have plenty of power for continuous cooling and all your other needs.
Can the AC unit be installed on a slanted roof?
Yes, the unit can be installed on a slanted roof, but for proper condensation drainage, the angle must not exceed 5 degrees.
What are the roof thickness requirements for installation?
There are two requirements to consider regarding your RV's roof thickness. First, the included mounting rods are for roofs up to 2.5 inches thick. If your roof is thicker, you'll need to use longer rods. Second, the height from the top of your roof to the bottom of your ceiling must not exceed 4 inches to allow access to the air filter for cleaning.
Why doesn't this AC unit have a heating function?
High-amperage heating can create significant stress on a vehicle’s electrical system. For safety reasons, the heating output on 12V units is restricted, meaning they are typically not powerful enough to effectively warm up a vehicle during winter. By focusing strictly on cooling, you get a more reliable and efficient system that doesn't compromise your electrical safety for underpowered heating.